Monday, September 30, 2013
Work Day 19
It has been far too long since I have made an entry. But I have been working none the less. This last 2 weeks, considerable progress has been made on the boat.
The Cabin:
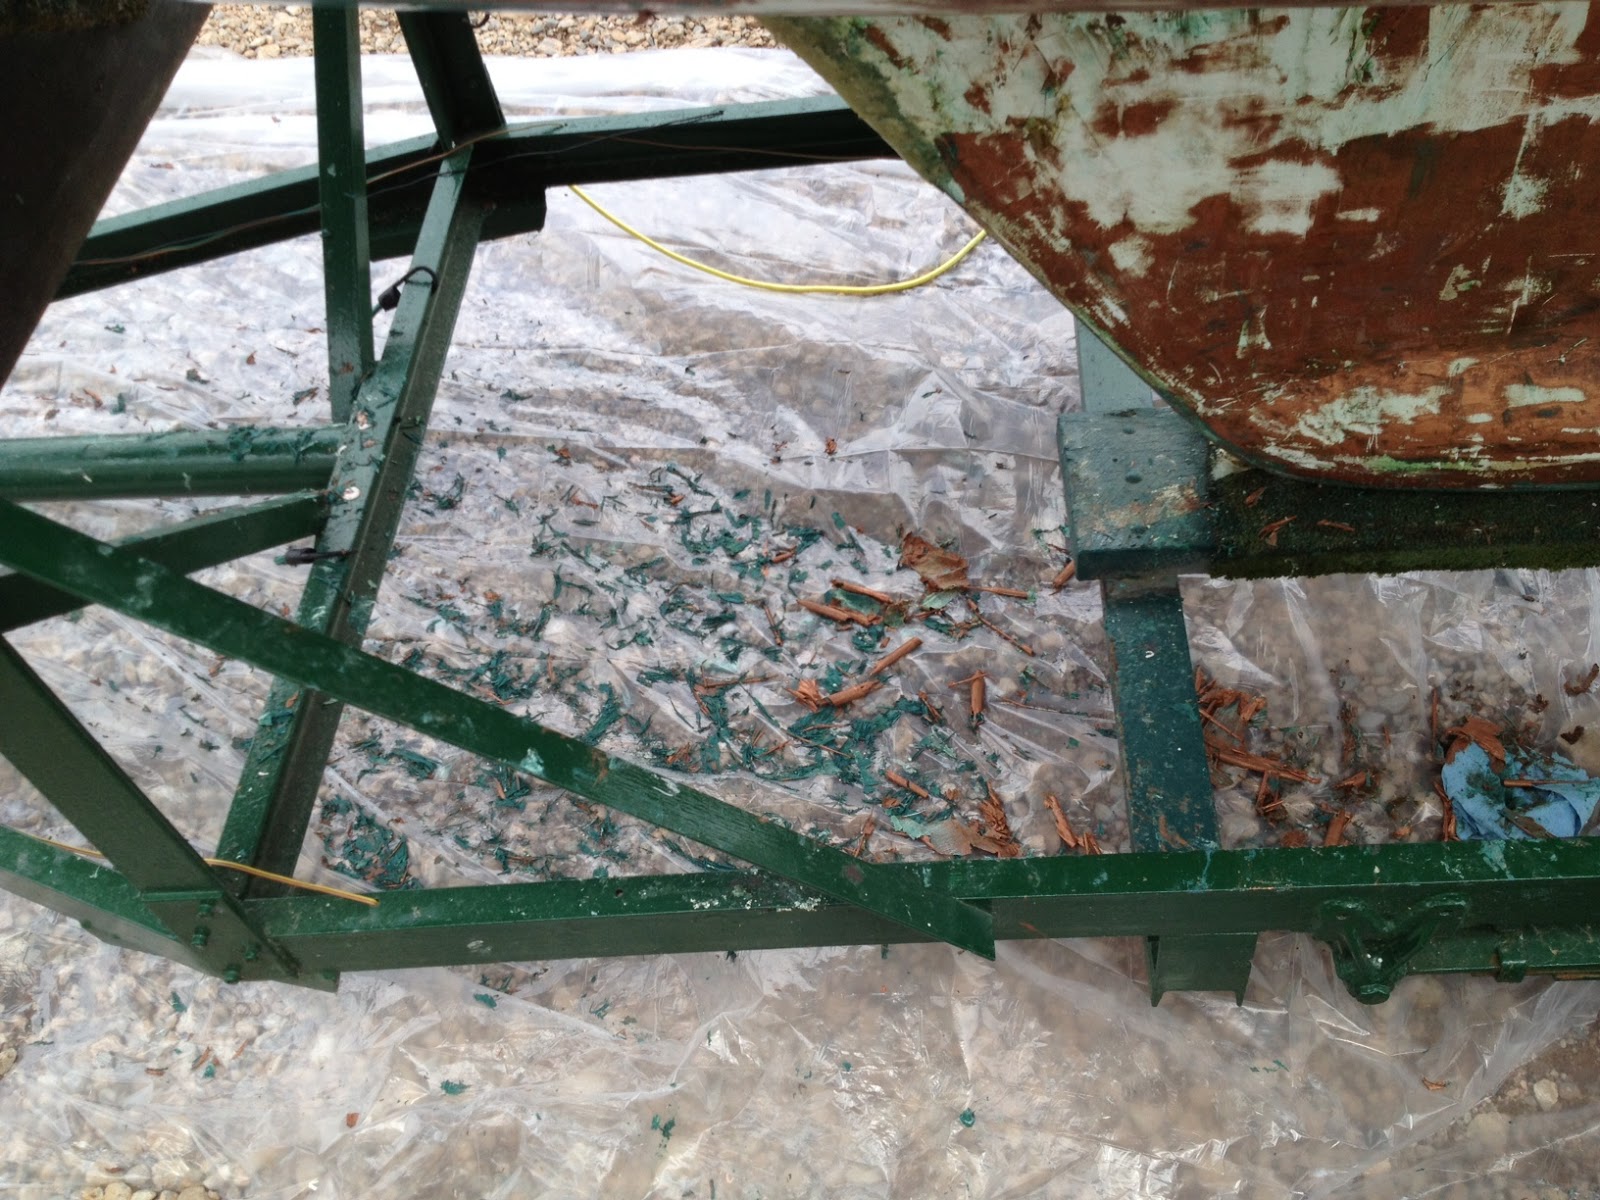
I sealed in the floor and finally secured the cabin. Well so I thought, the rainstorm came right after I sealed it and proved pretty well that it was not as sealed as it could be. It was obvious in the front and rear gaps on the floorboard that there was water leaking in. This became evident when I pushed the boat under a tree for shade and head what sounded like 5 gallons of water trapped beneath the floor boards. It was confirmed when I stuck my hands down the forward bilge and found the seal there was broken as well. The prospect of ripping up the floor again was not exciting. So I chose to drill two holes on the starboard side at low points. Drain out all the water with a shop vac and then seal it up from the top down. So far my strategy has worked. One of the drilled holes is completely dry now, and one is still leaking a little. I am drying them out for two weeks right now.
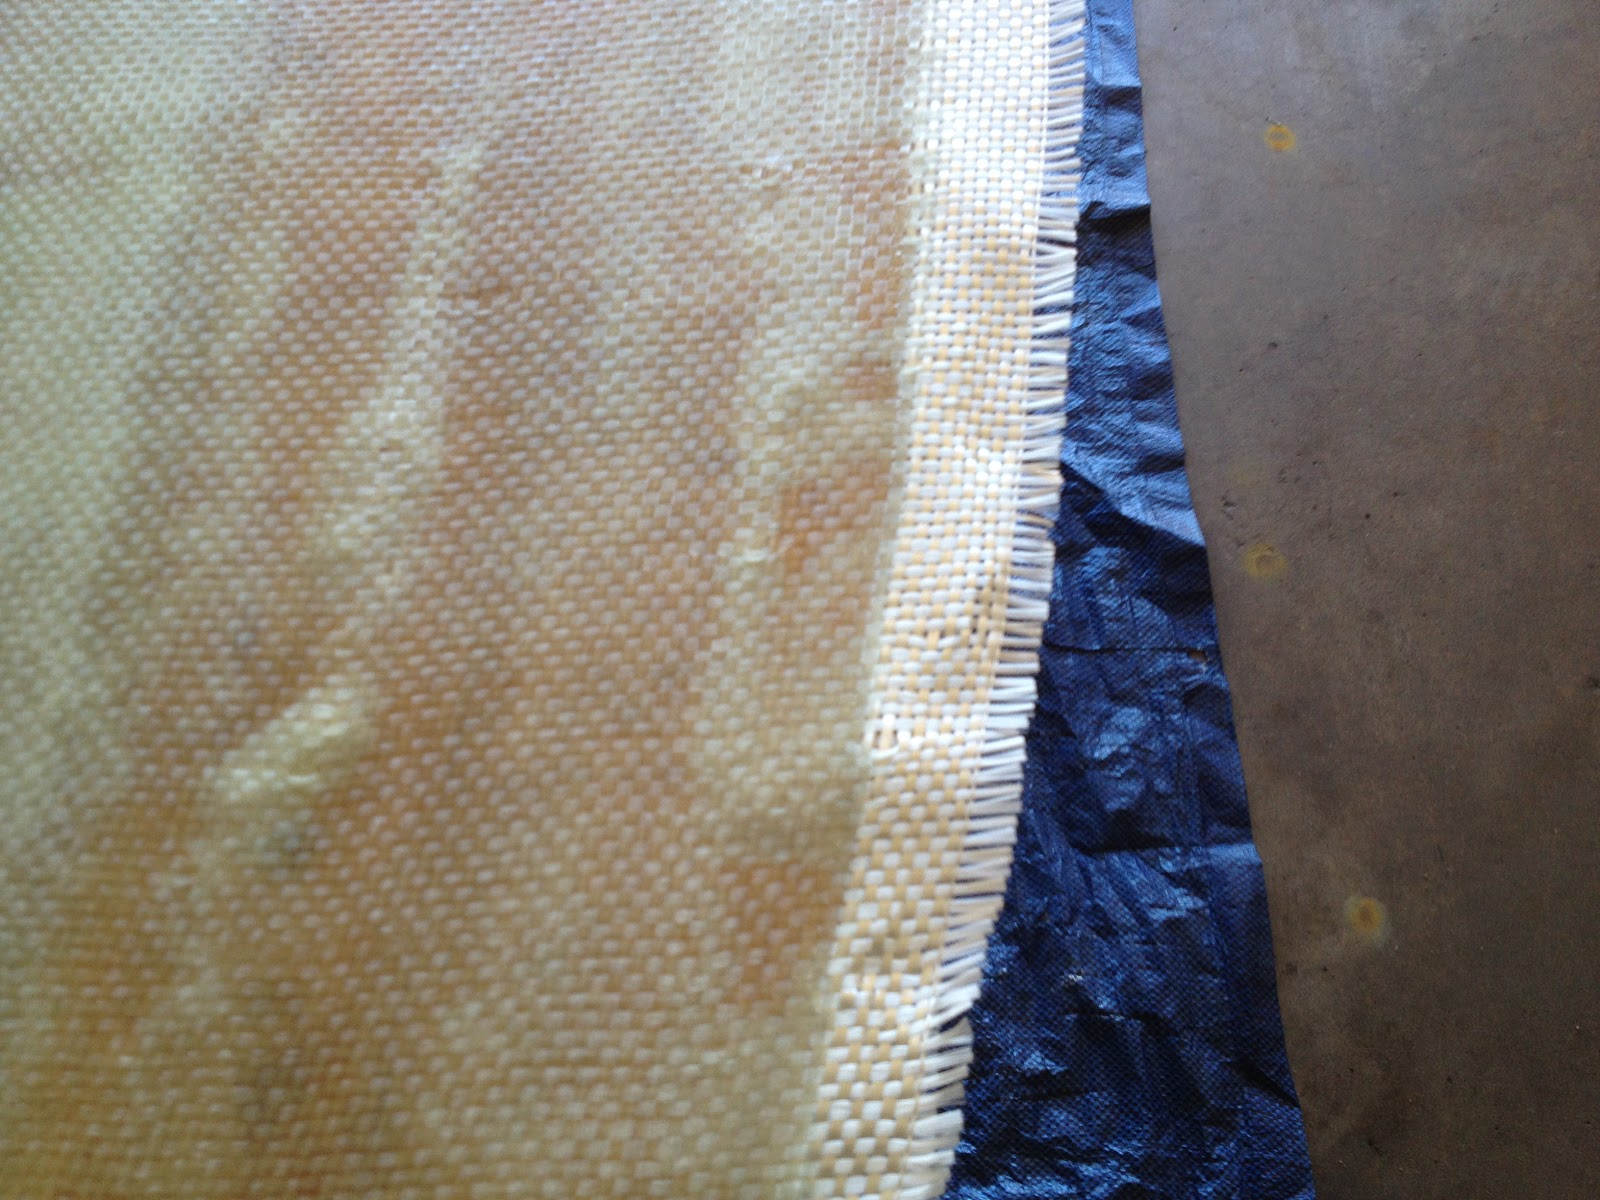
I bought some special caulking to seal all the forward and rear gaps on the floor boards. The other major concern was the side wall since it was potential leaking source as well. So I took the fairing compound and sealed the entire wall up to the floor board. This proved to work, but the sanding was going to take a long time if I wanted to get the wall flat. It is still a work in progress. I realized I needed to take care of the painting outside first then put up the mast, then seal the cabin with a proper fabric cover. At that point I can pick back up on cabin work.
Sunday, June 16, 2013
Work Day 18
Did quite a bit of work during the week lining up the floor and dropping in the bilge box securely. However, it was slow going because although I had free time, the temps were well over 100 for most of the day. Not the ideal time to be sweating and in the sun. But when the sun set rest assured I was out working. securely placed the bilge to the forward bulkhead and hull floor as well as waterproofed it. Dumped a soda bottle full of water in to wait and sea it leaked at all. Though there was some slight seepage up front I quickly sealed the leak and now have a functioning bilge. I took the time not to seal the floor because what good is a floor if there is a leaky bilge!
Instead of sealing the floor in because I was waiting on the bilge to dry I took a crack at the starboard side stripping job. I was pretty confident that a second try with all the experience from the first side would make the job go quicker. Though this is true still did not accomplish all of it this weekend. I attacked it three separate times. First, I painted the boat with stripper including some special aqua strip I order from a boat supplier. Then sealed up the stripper and paint with a plastic layer and tape. This was to keep the moisture in and prevent it from drying out. Then I simply waited 12 hours for it to really work. This was a pretty effective method for stripping first layer of green paint off. It came off easily the next day for the entire right side bow to stern. The only areas that were tough were areas exposed to air. You could tell because it was white and dried out as opposed to darker and moist. Now after I had all the green paint off I set in to doing the tedious stripping of the biocide. Had the time to apply three more layers of stripping gel and scrape. Would say it is down to about 25% or less on all surfaces. Will probably take another 3-5 hours to clean it up stem to stern. Forgot to mention I also did not strip the above waterline paint because it would be messy, easy and unnecessary. I will leave it up until the very end. After I clean up the bottom I will strip the top, should take an hour tops.
After I clean it up the plan is wash down the boat. Then to take a day in a full protective suit and mask and sand with 80 grit paper the entire boat. Especially getting rid of low areas or areas where I nicked the boat with the scraper. It is a very sharp took use for removing carpet goo or vinyl tile glue. So great at what it does but occasionally the blade will chip and indent into the boat. The other thing will need to do is then cover the boat with solvent wash before painting it. This will be right before I paint though. Painting will hopefully occur next weekend. One of two strategies for that. Have a bunch of guys come over and move the boat forward 3 inches to get at areas previously not paintable. Or, take it to local powerboat shop and use their 2 ton crane. They offered it if the boat would fit in the workshop. Just need to follow up with them during the week. The trick will be fast application. The instructions say that the barrier coat needs to dry 24-36 hours and then be sanded with 220 grit paper in order to prep for VC17(as it is very thin). The issue is that means I would need to use the crane twice. Then would come back at it with the vc 17. I might end up painting all the boat and then sanding and using the crane just for the part that was covered applying new paint on the spot.
The goal will be to seal up the deck here sometime during the week in between thunderstorms. Then I can start talking with local cabinet shop about planing my wood to veneers so I can apply it to the cabin. Also learned an interesting thing this weekend, I might have wood long enough to replace the entire side cabin walls. Which would be pretty appealing if I could.
Well that should keep me pretty busy for now. Working on a rough target date for water trials over fourth of july weekend but that would be pretty ambitious with all the cabin work and painting to be done.
Friday, June 7, 2013
Work Day 17
Today I took a break from the anals of scraping the paint off. Though the back isn't all scraped I decided it was time to move the boat to a closer location. After a recent Tornado we had to cut down one of the trees in our backyard. The yard backs up to a dried up city lake. It only fills when it rains and is promptly emptied by a pump into farm fields. So we took the initiative and moved the boat to the backyard!!! Great commute to work on the boat, on the flip side it stares back everyday begging for attention during the work week.
Before I moved the boat I decided to put 2-3 more layers of fairing on the cabin deck that I was going to drop in. This took a lot of time and actually had to order more epoxy. After the 2nd coat and copious amounts of sanding I figured it was good enough to drop in the boat. I would eventually have to put another layer on to seal the deck to the sides of the hull. At that point we can focus on the really fine sanding.
The first few days we left it on the driveway because it would be close to power sources for wood work. I began fitting the floor this weekend and working with the final install boards before I seal the floor in. First I had to build a forward bulkhead from scratch and then a smaller forward bulkhead where the floor would rest on. In the process of this I realized that there was an error made when I attached the front cargo support several weeks ago. I had not left a spot for the bulkhead to sit flush under the forward cargo cabin. So had to sand and laboriously cut at odd hull angles to get 3/4" off of the main support and the bulkhead to sit flush.
The process of leveling and sanding the different floor supports took about 2 hours. Unfortunately the forward support that I made today was trimmed down too small on the final cut. So had to start over from scratch with a new board. Luckily when I trimmed this one a little more precisely it fit and the floor of the boat dropped in and did not move.
Though my goal was to seal up the floor forward cabin this weekend I would rather take my time as this is a critical phase. So everything fits now its just a matter of getting a few days to drop in the deck and set the forward bulkheads. The bulkheads will take one day to set then the floor will be epoxied in the following day. At that point there will finally be no more bailing water out of the boat every time it rains!!! This is because I will have the bilge installed!
Before I moved the boat I decided to put 2-3 more layers of fairing on the cabin deck that I was going to drop in. This took a lot of time and actually had to order more epoxy. After the 2nd coat and copious amounts of sanding I figured it was good enough to drop in the boat. I would eventually have to put another layer on to seal the deck to the sides of the hull. At that point we can focus on the really fine sanding.
The first few days we left it on the driveway because it would be close to power sources for wood work. I began fitting the floor this weekend and working with the final install boards before I seal the floor in. First I had to build a forward bulkhead from scratch and then a smaller forward bulkhead where the floor would rest on. In the process of this I realized that there was an error made when I attached the front cargo support several weeks ago. I had not left a spot for the bulkhead to sit flush under the forward cargo cabin. So had to sand and laboriously cut at odd hull angles to get 3/4" off of the main support and the bulkhead to sit flush.
The process of leveling and sanding the different floor supports took about 2 hours. Unfortunately the forward support that I made today was trimmed down too small on the final cut. So had to start over from scratch with a new board. Luckily when I trimmed this one a little more precisely it fit and the floor of the boat dropped in and did not move.
 |
| This is the small bulkhead that I will trim down as the floor support. |
 |
| You can see the gap here as it does not sit flush...hopefully will filler it |
 |
| The main bulkhead |
 |
| Boat in the back yard, you can see the wood from the chopped tree |
Work Day 16
Have not been making entries in a long time. Been busy on both the boat and work. So here is a quick catch up from three weeks ago. I tackled the port side paint stripping to see how difficult it was going to be for the whole boat.
The boat was in a storage yard to facilitate doing this outside. I rented a generator for the weekend so I could sand down the parts I could not get off. Enlisted some labor from my good friend michael who was quite the worker helping me scrape off.
I spent all of Saturday and Sunday scraping away and got almost all of it off. It took me about 3 hours to go from the bow to the first support. I started by sanding more then scraping and that was a mistake. Coming back on Sunday. What we discovered was using the citristrip from local home improvement store in mass quantities stripped off the paint easily. You will have to come back at a section about three times with the citristrip and then use a 4" razor blade scraper to sheer it off the hull. This seemed to be a clean method and perforable. The sanding tended to go too deep in some spots which was apparent when daylight began to shine through the gel coat. Luckily there are only two or three spots like that.
At the end of the weekend I had done every thing but the stern on the port side. When I finish the stern will need to come back with a finer grit sandpaper and sand it down and use solvent prep to wash away any chemicals left. Then sand one more time and apply the primer/epoxy barrier coat. This will be done in the next month. Still debating on how to get to the keel bottom and the parts on the trailer I cannot touch.
 |
| First crack at sanding the keel. |
 |
| Found a repair made on the side of the hull above the water line |
 |
| Above the waterline came off very easily |

 |
| Never forget PPE even though it will make you sweat taking breaks every 20 mins |
 |
| Keel after day one |
 |
| Bottom after Day 2 |
 |
| What will be left for trimming and moving the boat when we paint |
 |
| Beginning on saturday |
Friday, April 12, 2013
Work Day 15
First today I tackled the newly layered cabin floor with the fiberglass. I began to use west systems microfiller to level the ridges and paint the floor. Unfortunately I ran out of epoxy before I could finish, but it was clear it was working. So the game plan is to buy a gallon of epoxy in order to lay up the wood decks. When I get this new epoxy I will finish the other half ot the cabin floor. Then sand down the high points, and follow with one more micro filler level. This of course will happen sometime late next week because I will need wait for new epoxy.


So the total scraping area I did today was I about 1/5 of the port side. So, I would expect the entire port side to take 5 hours to scrape. Ran out of paint stripper after this area so I will go buy a gallon or so before I do the entire side. After the entire side is stripped a day with full paint suit sander, vapor mask and glasses will ensue. This should prep the boat to lay down epoxy barrier coating. Then of course there is the starboard side to prep. So this is easily a full weekend of just paint prep.

I checked up on the center forward cabin and it is solidly in place and ready to bare loads. So with that I had a friend pull the boat out the shop and into the storage yard. The reason for this was to save money and begin to work on painting prep while I wait for the epoxy.
The painting prep requires scraping of the green under paint and the copper oxide. So I started by spending one hour on the port side keel up to the waterline. I started by spraying paint stripper on the green under body paint then using the paint scraper to get paint off. I laid down a tarp to catch most of the pain instead of it falling on the ground. I was able to get most of the green paint off but not the cuperous oxide, the really toxic crap. I will try to scrape all the green paint off because it really gunks up the sander and then sand down all the oxide in one day for one side. I learned this when dealing with the machined hole repair because I had to sand away the green paint around the lowest hole. This took forever. With it scraped away I can get straight to the copper oxide. The goal will be to sand down to the white layer which is a barrier coat from the 1970s. Then apply epoxy barrier atop that and begin to paint.
 |
| After an hour of scrubbing the white, is what the goal is |
 |
| the non vertical portion below the waterline was significantly harder to scrape |

 |
| As a sample I scraped above the water line, and it was much easier. |
Work is picking up so I will have to wait a few weekends and try to knock out the paint prep in one weekend. Then the goal is to have it in the water by memorial day weekend for a shake down cruise.
Work Day 14
Today I did two major things:
1. Finished laying down fiberglass 24 oz layers on the boat floor made of plywood. This created the laminate thickness of 1/8" that is required for the floor. Then I waited for it to dry. I left the fiberglass to hang over the ends, this way when I lay it in the cabin it will bond to the side of the boat easier. You can see in the picture below the layers do not stretch the entirety of the wood but it makes for a strong center.
 Below is a zoomed in shot of the overlap area on the right. Notice the air buble/uneven surfaces. The reason for these was the first layer of thin fiberglass I laid down. It did not lay down flat and then I laid it down and let it dry. This meant an uneven surface when laying down the heavy weight fiberglass. The thing that I learned is you need to lay all the layers down at once in order to squeegee the air out of the fiberglass. The strategy for eliminating these will be to grind them down with sander and then add filler over and around them


1. Finished laying down fiberglass 24 oz layers on the boat floor made of plywood. This created the laminate thickness of 1/8" that is required for the floor. Then I waited for it to dry. I left the fiberglass to hang over the ends, this way when I lay it in the cabin it will bond to the side of the boat easier. You can see in the picture below the layers do not stretch the entirety of the wood but it makes for a strong center.


 |
| the edge of the fiberglass wowing |
The second thing I did was epoxy in the forward piece into the cabin. I laid epoxy in the bottom support first, then placed duck tape along the length of the cut line on the underside. In this way I simply had to drop epoxy into the crack to cure. Then wait for it to dry and remove or leave the duck tape. Though there was a little residual epoxy left on the surface I will sand it away when I repaint the floor and the forward hatch area. I secured the surface with metal clamps, this way I made the sides meet evenly with no major dips. Dips below can be filled up, but if the center piece is too high it cannot be faired down. After the initial lay up of epoxy, I will add another batch to bring it up to the surface level.

I will come back tomorrow and deal with these things when they are dry.
Sunday, March 31, 2013
Work Day 13
Today I started to lay in more cabin floor supports. The big issue was dealing with the forward supports. Trying to understand how they would fit together with the bilge, as well as actually making them the correct height so the bilge and the floor are at the same level. So I began by cutting down the front bulkhead and the other support to the correct size. Then I laid up the rear support with epoxy so it could set in. before laying up the forward support I need to do two things. Shave down the bilge so the cut I made on the front is even. Second is to install the forward cabin top again. After placing the forward cabin top, it became clear it was going to sit on top of the bulkhead for support. So had to keep that in mind while placing it.
 |
| rear support and forward bulkhead |
 |
| You can see the gap at the bottom because of the uneven cut |
 |
| Preparing the forward cabin floor by attaching mast support piece. |
Basically laid up epoxy and fiberglass CSM to make sure this was attached. Then will just have to drop it in the pre made space to lay it up evenly.

So next work day, dropping in the forward cabin floor. And beginning to sand!
Subscribe to:
Comments (Atom)