Friday, April 12, 2013

Work Day 15

First today I tackled the newly layered cabin floor with the fiberglass.  I began to use west systems microfiller to level the ridges and paint the floor.  Unfortunately I ran out of epoxy before I could finish, but it was clear it was working.  So the game plan is to buy a gallon of epoxy in order to lay up the wood decks.  When I get this new epoxy I will finish the other half ot the cabin floor. Then sand down the high points, and follow with one more micro filler level.  This of course will happen sometime late next week because I will need wait for new epoxy.

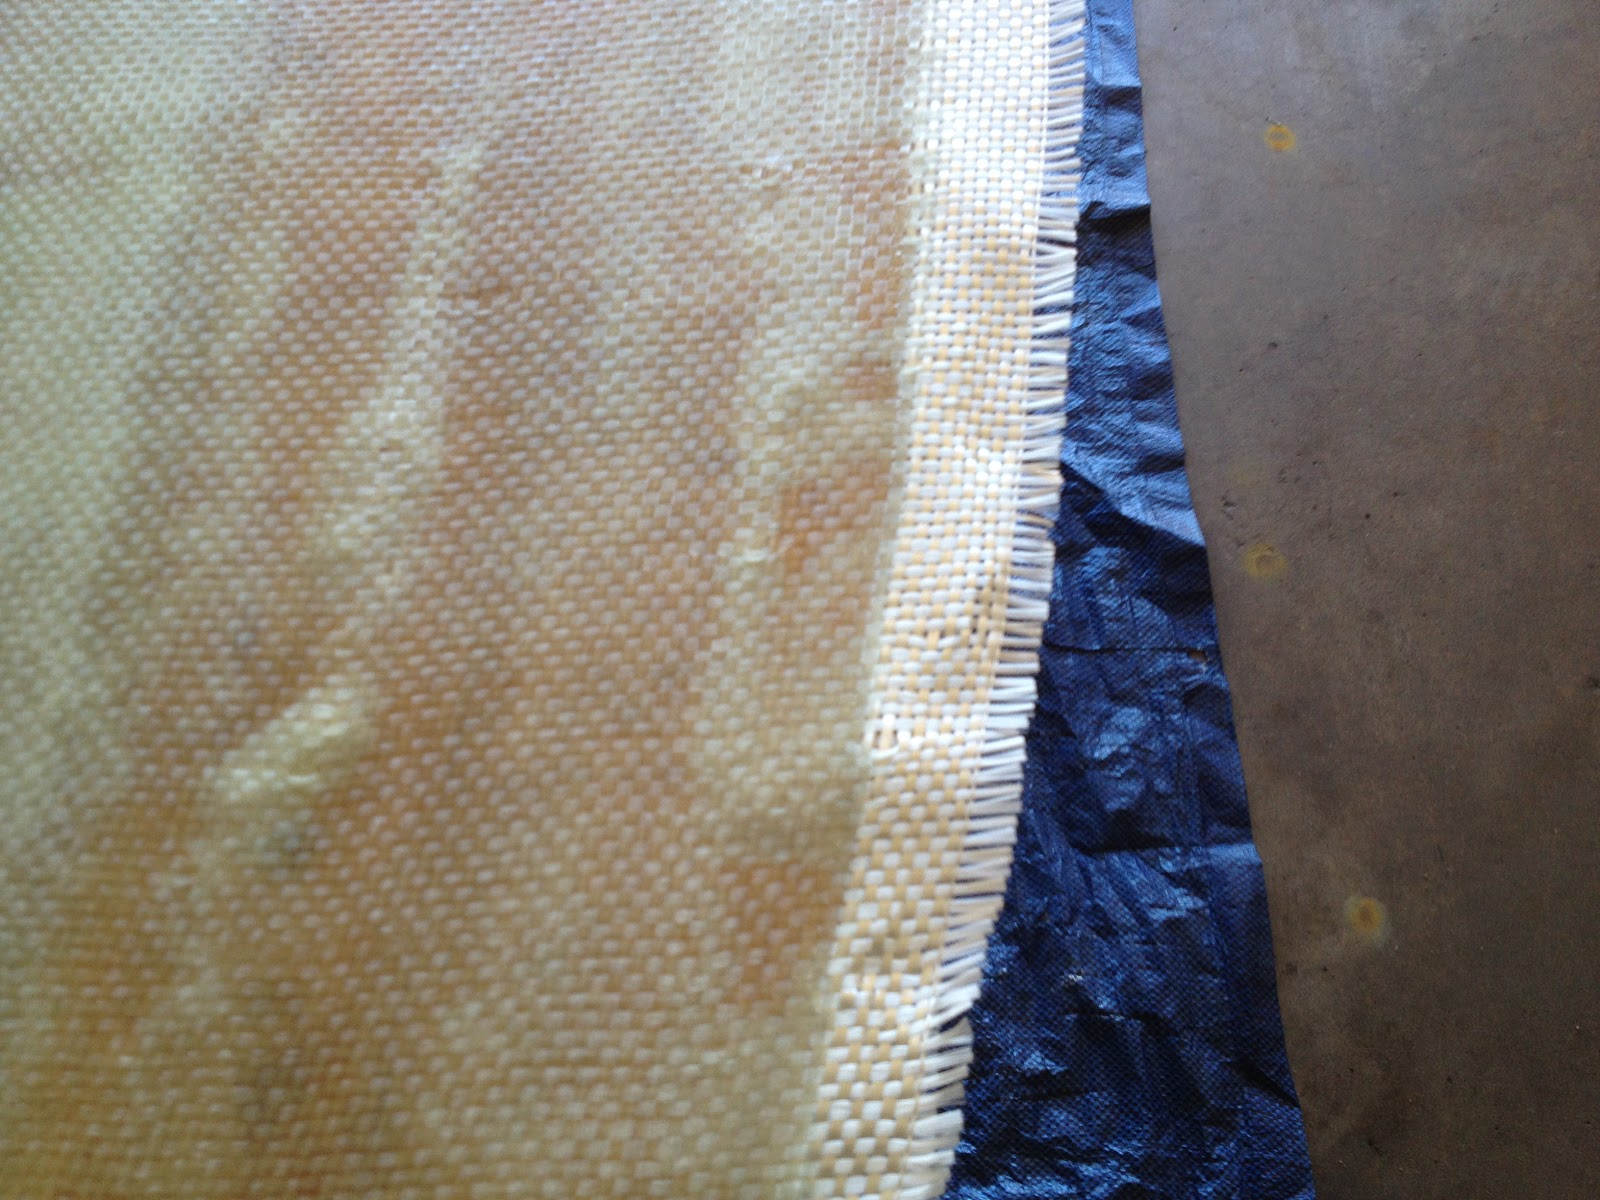
I checked up on the center forward cabin and it is solidly in place and ready to bare loads.  So with that I had a friend pull the boat out the shop and into the storage yard. The reason for this was to save money and begin to work on painting prep while I wait for the epoxy.  

The painting prep requires scraping of the green under paint and the copper oxide.  So I started by spending one hour on the port side keel up to the waterline.  I started by spraying paint stripper on the green under body paint then using the paint scraper to get paint off. I laid down a tarp to catch most of the pain instead of it falling on the ground.  I was able to get most of the green paint off but not the cuperous oxide, the really toxic crap.  I will try to scrape all the green paint off because it really gunks up the sander and then sand down all the oxide in one day for one side.  I learned this when dealing with the machined hole repair because I had to sand away the green paint around the lowest hole.  This took forever. With it scraped away I can get straight to the copper oxide.  The goal will be to sand down to the white layer which is a barrier coat from the 1970s.  Then apply epoxy barrier atop that and begin to paint.  
After an hour of scrubbing the white, is what the goal is

the non vertical portion below the waterline was significantly harder to scrape 

As a sample I scraped above the water line, and it was much easier.
So the total scraping area I did today was I about 1/5 of the port side.  So, I would expect the entire port side to take 5 hours to scrape.  Ran out of paint stripper after this area so I will go buy a gallon or so before I do the entire side.  After the entire side is stripped a day with full paint suit sander, vapor mask and glasses will ensue.  This should prep the boat to lay down epoxy barrier coating. Then of course there is the starboard side to prep.  So this is easily a full weekend of just paint prep.  

Work is picking up so I will have to wait a few weekends and try to knock out the paint prep in one weekend.  Then the goal is to have it in the water by memorial day weekend for a shake down cruise.

Work Day 14

Today I did two major things:
1.  Finished laying down fiberglass 24 oz layers on the boat floor made of plywood.  This created the laminate thickness of 1/8" that is required for the floor. Then I waited for it to dry. I left the fiberglass to hang over the ends, this way when I lay it in the cabin it will bond to the side of the boat easier.  You can see in the picture below the layers do not stretch the entirety of the wood but it makes for a strong center.

 Below is a zoomed in shot of the overlap area on the right.  Notice the air buble/uneven surfaces.  The reason for these was the first layer of thin fiberglass I laid down. It did not lay down flat and then I laid it down and let it dry. This meant an uneven surface when laying down the heavy weight fiberglass.  The thing that I learned is you need to lay all the layers down at once in order to squeegee the air out of the fiberglass.  The strategy for eliminating these will be to grind them down with sander and then add filler over and around them

the edge of the fiberglass wowing


The second thing I did was epoxy in the forward piece into the cabin.  I laid epoxy in the bottom support first, then placed duck tape along the length of the cut line on the underside.  In this way I simply had to drop epoxy into the crack to cure.  Then wait for it to dry and remove or leave the duck tape. Though there was a little residual epoxy left on the surface I will sand it away when I repaint the floor and the forward hatch area.  I secured the surface with metal clamps, this way I made the sides meet evenly with no major dips. Dips below can be filled up, but if the center piece is too high it cannot be faired down.  After the initial lay up of epoxy, I will add another batch to bring it up to the surface level.


I will come back tomorrow and deal with these things when they are dry.